Photography is an essential part of our traveling journey as it helps us capture those beautiful moments and cherish them forever. But photography is more than just the camera. So it becomes very important to understand the basics and capture those moments more beautifully. Whether you’re a newbie or looking to enhance your skills, mastering the art of travel photography can truly elevate your experiences. Join me as we delve into 10 essential tips tailored specifically for beginners, helping you unlock the full potential of your travel snapshots. Let’s turn those ordinary moments into extraordinary memories!
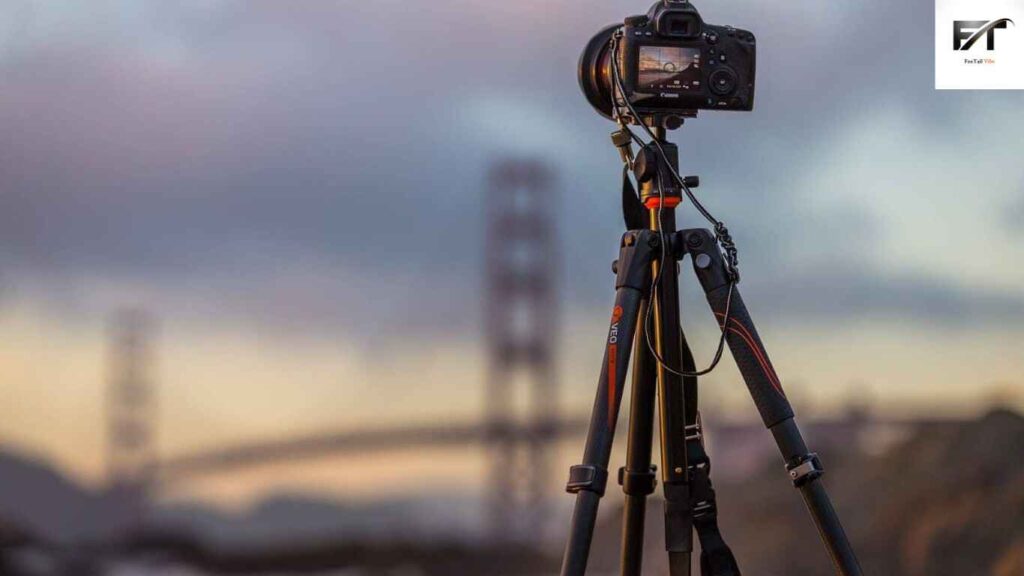
Get Familiar with Your Camera
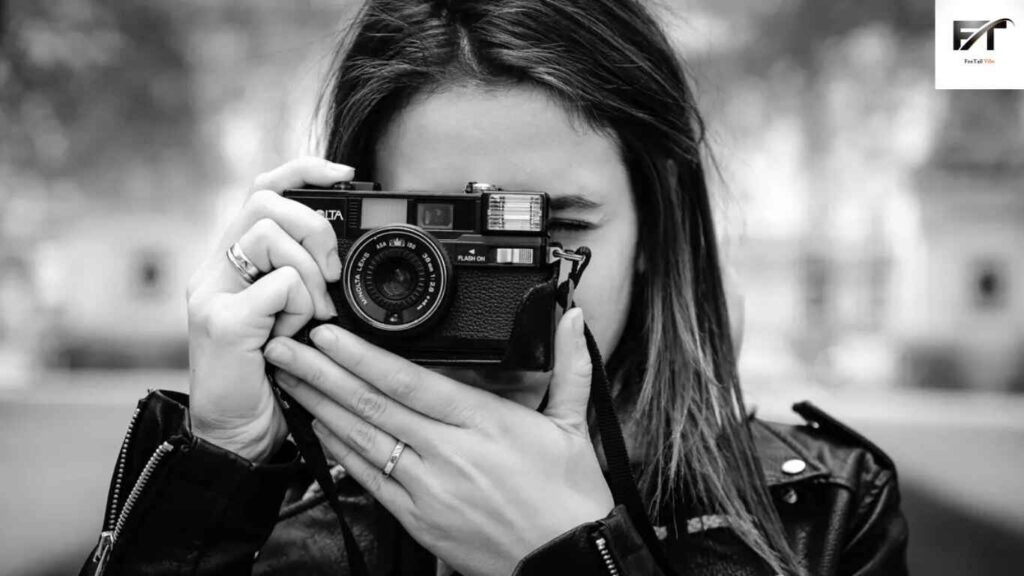
No matter if you’re using a fancy camera, a smartphone, or an old-school film one, the first tip for travel photography is to really understand your camera gear. Take some time to go through the manual, play around with all the buttons and settings, and spend some quality time with your camera so it feels like an extension of yourself. Get to know the menu so you can quickly adjust settings when you’re out in the field and time is of the essence.
And don’t forget to figure out what your camera can and can’t do. Is it good in low light? Does it stay sharp when wide open? Does it have image stabilization? The more you know about your camera, the more comfortable you’ll feel using it, and taking great photos will become second nature.
The Importance of the Golden and Blue Hours
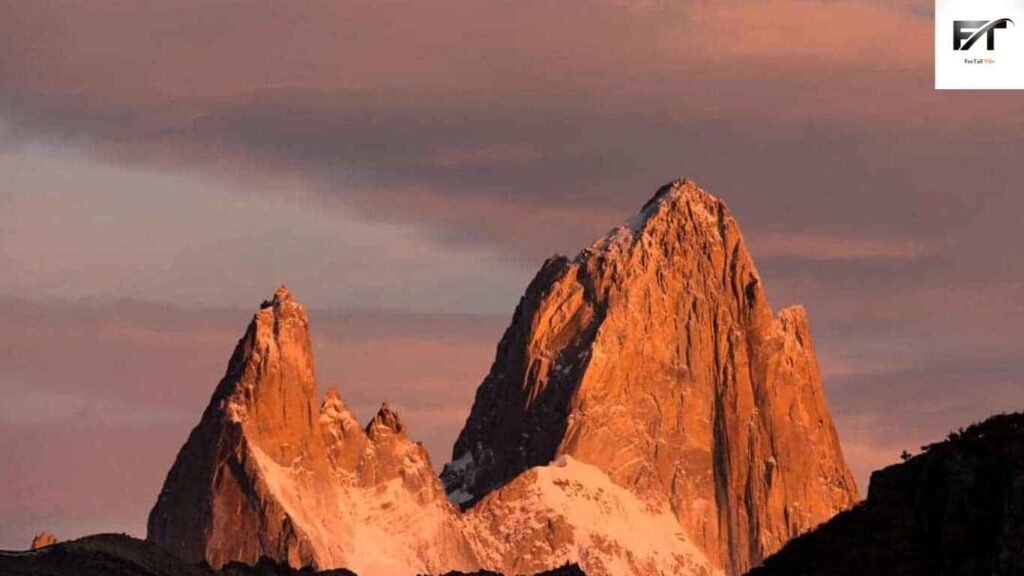
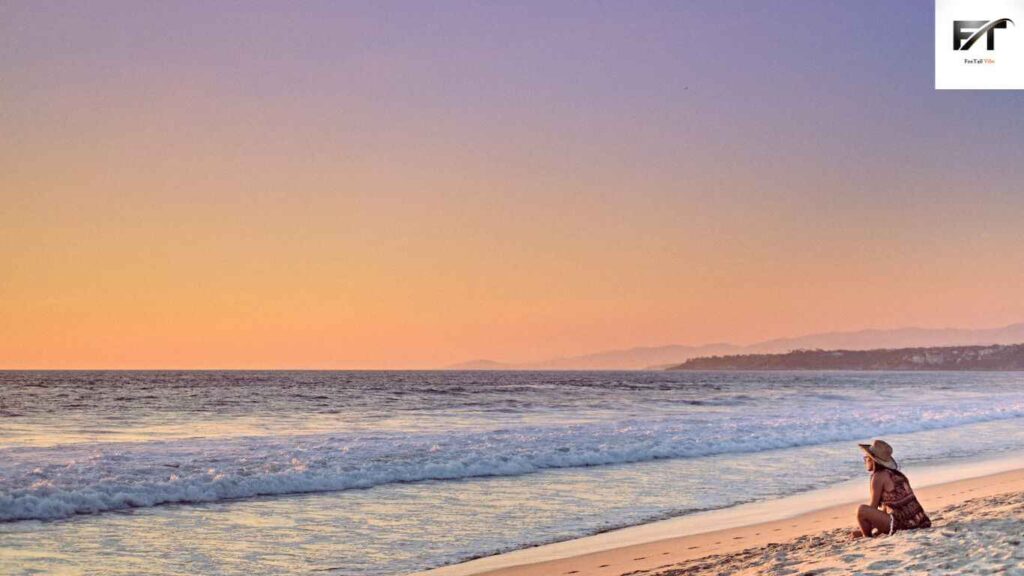
Light plays a crucial role in travel photography, with the golden and blue hours being particularly significant. The Golden Hour, occurring shortly after sunrise and before sunset, bathes scenes in a warm, magical glow. Conversely, the Blue Hour, when the sun is below the horizon, creates a stunning blue hue in the sky. To enhance your travel photos, prioritize shooting during these times of day. While it may require waking up early or staying out late, the results are often worth it.
Even if you’re not a morning person, consider setting an alarm to capture iconic landmarks without crowds. While midday photography can still yield good results, the harsh lighting conditions may not be as favorable. Use this time to explore locations for sunrise and sunset shots. Remember, patience is key – even if the initial sunrise or sunset seems lackluster, the sky may surprise you with brilliant colors.
Plan Your Photos
Before you head to your vacation spot, take some time to think about the pictures you want to capture. Look for ideas on Instagram, Google Maps, travel magazines, and other sources. Jot down the images you like and schedule your day around the best time to take them (like sunrise or sunset). By doing this, you’ll be able to get the shots you’re aiming for and have a clear goal in mind. Remember, even the top photographers use tools like Google Maps and social media to plan their shots, so it’s a good habit to pick up!
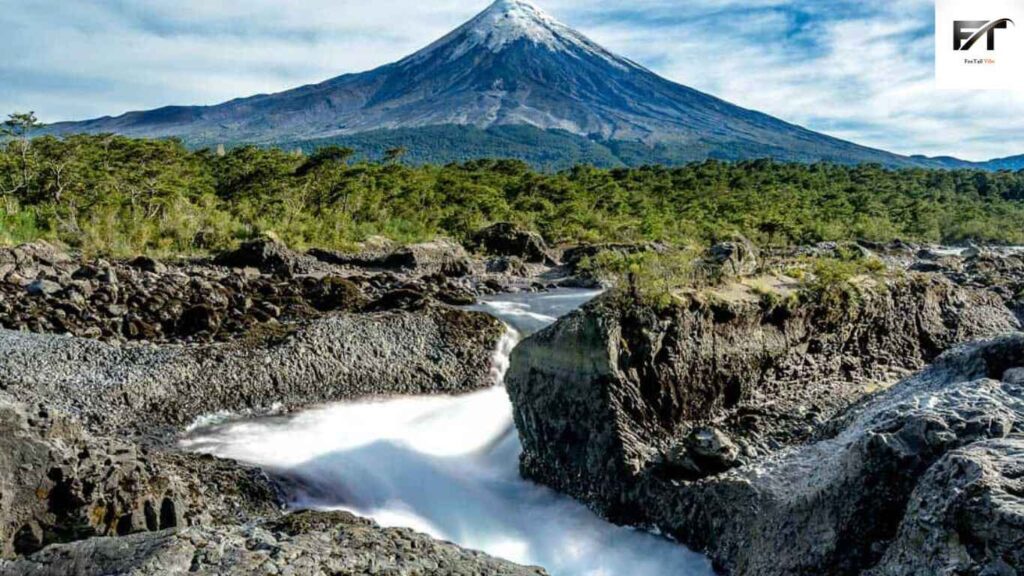
Importance of Composition

Have you ever heard about the importance of composing a shot properly? It can make a huge difference in your photography. One popular technique is called the ‘rule of thirds’, which involves dividing your image into nine squares and placing your subjects along those lines. This creates a visually pleasing composition that our eyes naturally find appealing. Another tip is to look for leading lines, angles, and shapes that guide the viewer’s eye around the photo. Practice is key in mastering these skills. However, it’s important to remember that rules are meant to be broken. Feel free to experiment with different compositions that you think will work best for your shot. And don’t forget to add a human element to bring more interest to your photos.
The Right Travel Photography Gear
Choosing the right travel photography gear doesn’t have to break the bank. You might already have a fantastic camera right in your pocket – your phone! Instead of splurging on expensive equipment, start with what you can afford. As you delve deeper into photography and editing, you’ll figure out which gear suits your style. Filters, tripods, flashes, prime lenses, zoom lenses – they’ll all come into play eventually. But for now, all you really need is a camera, memory card, and a whole lot of enthusiasm!
Be Unique
Sure thing! While snapping those classic shots of landmarks like the Eiffel Tower or Machu Picchu is totally cool and Instagram-worthy, why not add a dash of uniqueness to your feed too? Seek out fresh perspectives that haven’t flooded your feed a zillion times before. Make it your mission to capture a few shots that truly stand out and reflect your creative flair. Experiment with exposure, play with motion blur – let your imagination run wild! After all, the only limit is what you can dream up!
Exposure Triangle in Photography
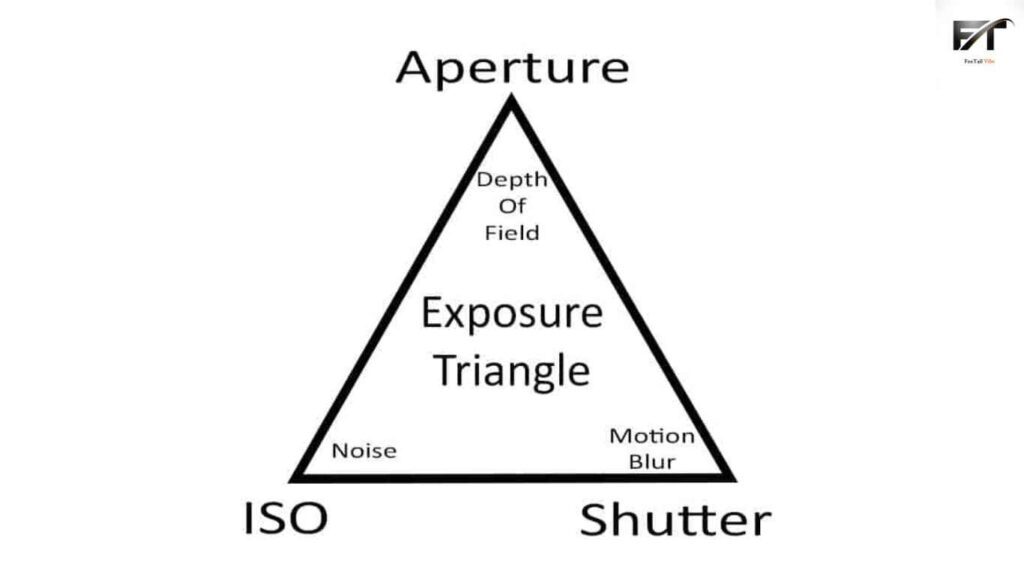
Alright, let’s break down the Exposure Triangle in photography lingo that’s easy to grasp. Picture your camera as a light catcher – it’s got to nab just the right amount of light to make your photos shine, not too bright or too dim. Now, this triangle’s got three corners: aperture, ISO, and shutter speed. Each one plays its part in how much light hits the camera sensor, and nailing the balance between them is key to snapping that perfect shot. Let’s dive into these basics real quick and see how they can level up your photography game on the go!
Aperture
Aperture is all about how wide or narrow the blades in your camera lens are and how much light they let in. We measure aperture size using ‘F Stops’, which are those numbers like f5.6, f8, f11, and so on. Here’s the thing: a wide aperture (with a small number like f1.8) lets in heaps of light, while a narrow aperture (with a big number like f22) lets in less. Also, a wide aperture gives you a blurry background, while a narrow one keeps everything sharp. It might sound a bit tricky, but don’t worry! The more you play around with it, the clearer it’ll become. So, if you’re aiming for a blurry background in your photo, go for a wide aperture. But if you want everything nice and clear, go for a narrow aperture.
ISO
ISO basically tells your camera how sensitive it should be to light. When you have a low ISO number, like 100, it means your camera needs more light to make a good picture. But when you crank it up to a high number, say 6400, it means your camera can work with less light. However, the trade-off is that the higher you go, the more grainy your photo might look. That’s what we call “noise,” and it can make your picture quality not so great. So, unless you’re planning some late-night stargazing or capturing fast-moving scenes indoors, it’s best to keep your ISO low to avoid that grainy effect.
Shutter Speed
Understanding shutter speed is pretty straightforward—it’s simply the amount of time your camera’s shutter remains open. This feature allows you to control whether you freeze action or create a sense of motion in your photos. Say you’re trying to capture a bird mid-flight; in that case, you’d want a fast shutter speed (like 1/4000th of a second) to get a crisp shot. On the other hand, if you’re aiming for that dreamy, smooth look of a waterfall, opt for slower shutter speeds (around 3 seconds) to achieve that effect.
Just remember, if you’re hand-holding your camera, you’ll need a faster shutter speed to avoid capturing any unintended hand movements. As a handy rule of thumb, stick to at least 1/60 of a second to keep your photos steady without a tripod. Go any slower, and you’ll likely need some extra support to keep things sharp!
Post Processing
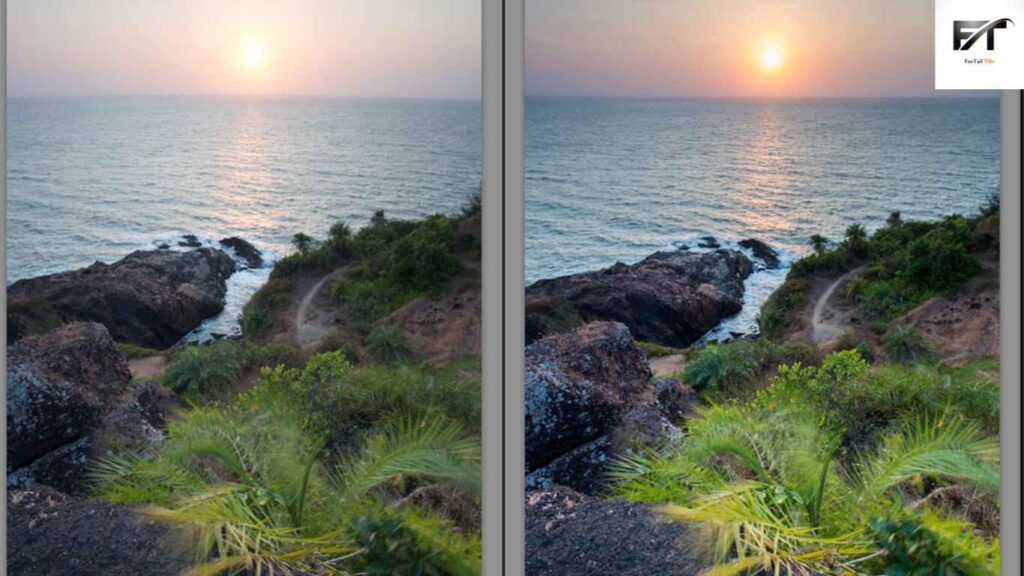
Let’s talk about post-processing. Some folks feel like tweaking your photo is a bit like cheating. But guess what? Since the dawn of photography, photographers have been giving their snaps a little touch-up. Even those jaw-dropping shots in National Geographic? Yup, they’ve had some manipulation too. Truth is, nearly all the photos you see in travel magazines have been edited in some way. Pros do it too. Why? Because not all cameras nail the exact colors and lighting we see with our eyes.
If you’re serious about stepping up your travel photography game, diving into post-processing is key. Sure, Adobe Photoshop is the big name, but it’s pretty advanced for starters. You can dip your toes in with free apps like Snapseed on your phone or free programs like iPhoto or GIMP on your computer. But when you’re ready to get down to business and edit all those photos crowding your memory cards, investing in Adobe Lightroom is a solid move.
Practice, Practice, Practice
Becoming a top-notch travel photographer isn’t something that happens overnight. It takes time and a ton of practice. The key? Get out there and start snapping those travel photos! You don’t need to jet off to fancy tourist spots or have the fanciest camera on the market. Borrow your family members for some portrait shots, team up with a photography-loving friend for some friendly competition, or just grab your smartphone and capture a stunning sunset. Start with whatever gear you can afford, take a stroll around your neighborhood, and click away. We hope these beginner travel photography tips have given you a good starting point. Got more questions? Don’t hesitate to ask!
Also Read – 5 Best Detox Water Recipes to Boost Your Health