Hey there, makeup mavens and beauty enthusiasts! Ever caught yourself mesmerized by those flawless smoky eyes on your favorite celebrities and wondered, “How do they do it?” Well, you’re in for a treat! Welcome to our smoky eye extravaganza, where we’re about to unravel the secrets behind achieving that sultry gaze that turns heads.
Now, you might be thinking, “Why bother with the whole smoky eye thing?” Trust me, it’s not just about makeup; it’s about boosting your confidence and letting your eyes do the talking. Whether you’re a pro with a makeup brush or just starting your beauty journey, this step-by-step guide is tailored for everyone. So, grab your eyeshadows and let’s dive into the magical world of mastering the smoky eye for all eye shapes. Ready, set, glam! 🌟
The Charisma of Smoky Eyes
Ever wondered what makes smoky eyes the go-to choice for those seeking an irresistible allure? Unlike ordinary eye makeup, the smoky eye technique blends eyeshadows seamlessly, creating a gradient that transforms your gaze into an enchanting symphony of colors. It’s not just makeup; it’s an art form that amplifies your eyes’ natural beauty, taking confidence and allure to a whole new level.
The key distinction lies in the intensity and depth achieved. Smoky eyes strategically use darker shades, enhancing the contours for a shadowy effect that’s both sophisticated and magnetic. It’s a departure from the ordinary, offering a bold and impactful look that effortlessly transitions from day to night. If you’re ready to make a statement and leave a lasting impression, delve into the world of smoky eyes—it’s the game-changer you’ve been waiting for.
Round Eyes
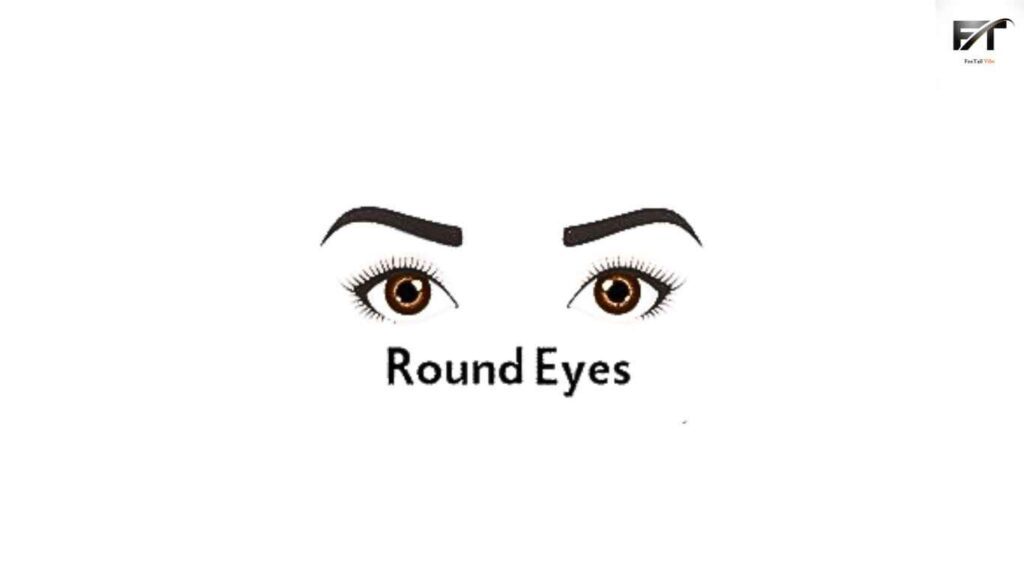
1. Eyeshadow Primer:
- Begin with a neutral-toned eyeshadow primer. Opt for a creamy formula to create a smooth canvas for your eyeshadow. Blend it gently across the entire lid and slightly above the crease.
2. Eyeshadow Palette:
- Start by applying a sheer wash of a light gray shimmer on the lids, focusing on the inner half. Transition into a medium charcoal shade in the crease, ensuring to blend it seamlessly for a gradient effect. Now, intensify the outer V with a deep black eyeshadow, using a precise brush for precision. Keep blending until the colors meld effortlessly.
3. Eyeliner:
- Choose a rich, black eyeliner – be it a gel pencil, liquid, or gel pot. Line your waterline for a bold look. Extend the liner slightly beyond the outer corner to elongate the eyes. The key here is precision.
4. Mascara:
- Finish with a volumizing mascara. Focus on the outer lashes, applying multiple coats for a dramatic flair. Wiggle the wand at the base and comb through for maximum impact.
Almond Eyes
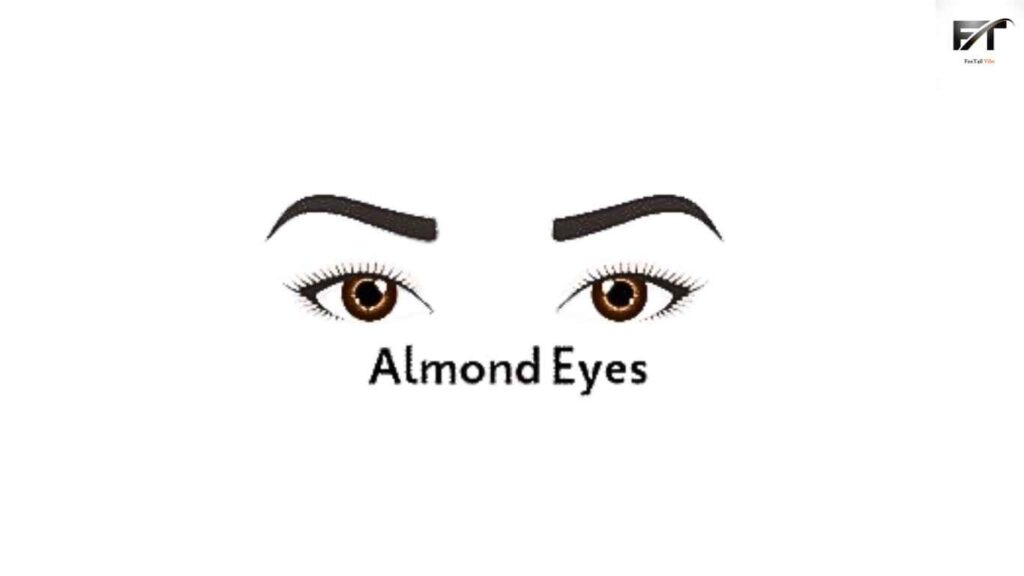
1. Eyeshadow Primer:
- Use a nude-toned eyeshadow primer to neutralize any discoloration. Blend it evenly from lash line to brow bone.
2. Eyeshadow Palette:
- Start with a wash of a champagne shimmer across the lids. Transition to a warm brown in the crease, creating a soft transition. Deepen the outer corners with a rich black eyeshadow, focusing on a cat-eye shape. The key is to keep the shimmer on the center of the lids for dimension.
3. Eyeliner:
- Employ a jet-black eyeliner for a precise line along the upper lash line. Create a thin line towards the inner corner, gradually thickening it as you move outward. Wing it slightly for that extra sass.
4. Mascara:
- Curl your lashes and apply mascara. Concentrate on the center lashes to maintain that wide-eyed, almond-shaped allure.
Hooded Eyes
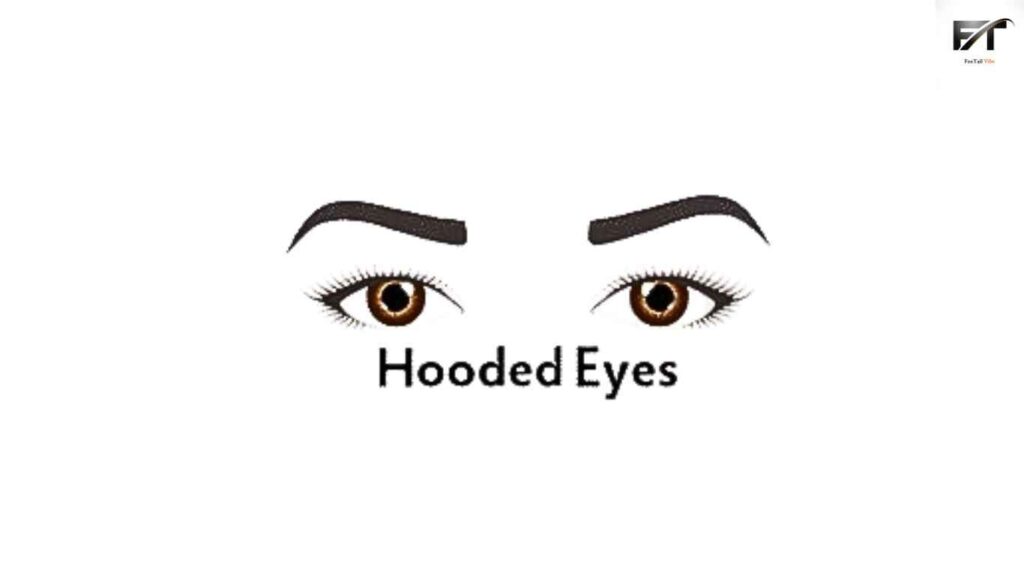
1. Eyeshadow Primer:
- Apply a neutral-toned primer slightly above your natural crease. This creates a faux crease, making your eyes appear larger. Blend it seamlessly to avoid any harsh lines.
2. Eyeshadow Palette:
- Begin with a light shade across the lids, ensuring it extends up to the faux crease. Transition to a taupe shade in the faux crease and deepen the outer corners with a plum eyeshadow. Blend thoroughly, paying extra attention to the crease for dimension.
3. Eyeliner:
- Opt for a thin line along the inner corner, gradually thickening it towards the outer corner. This technique adds depth to your hooded eyes, making them pop.
4. Mascara:
- Curl your lashes and apply mascara, focusing on the outer lashes. This lifts the eyes and emphasizes the eyeshadow gradient.
Monolid Eyes

1. Eyeshadow Primer:
- Choose a light, shimmery primer to enhance the vibrancy of your eyeshadows. Pat it gently onto the lids for an even application.
2. Eyeshadow Palette:
- Start with a soft peach shade across the entire lid. Deepen the outer corners with a plum eyeshadow, creating a V-shape. Add a touch of gold shimmer on the center of the lid for a captivating dimension.
3. Eyeliner:
- Create a thin line along the upper lash line, extending it slightly past the outer edge. This elongates the eyes and adds a playful touch.
4. Mascara:
- Curl your lashes and apply mascara, ensuring every lash is coated. The goal is to open up the eyes and showcase the eyeshadow hues.
Do’s & Don’ts
Do
Do Use an Eyeshadow Primer: It’s the foundation for your eyeshadow, ensuring it stays put and pops.
Do Blend Like a Boss: Take your time blending for that seamless transition between colors.
Do Layer Your Shadows: Start light and build drama gradually for that perfect smoky gradient.
Do Use Precision with Eyeliner: Steady hands for sharp lines, especially when winging it out.
Do Curl Those Lashes: Open up those peepers with an eyelash curler – it’s a game-changer.
Do Experiment with Colors: Smoky eyes aren’t just about black and gray; play with jewel tones and browns.
Do Clean Up Fallout: Wipe away any eyeshadow fallout with a makeup wipe for a clean finish.
Don’t:
Don’t Skip the Primer: Without it, your eyeshadow masterpiece might not last the night.
Don’t Rush the Blend: Take your time blending; harsh lines are a no-no.
Don’t Forget the Lower Lash Line: Adding shadow there completes the smoky look.
Don’t Overdo the Eyeliner Thickness: Keep it elegant, especially on the inner corners.
Don’t Ignore Your Eye Shape: Adjust your technique to complement your unique eye shape.
Don’t Use One Brush for Everything: Invest in different brushes for precise application and blending.
Don’t Fear Color: Embrace the rainbow – smoky eyes can be colorful and stunning.
Conclusion
Alright, smoky-eyed divas, you’ve just been schooled in the art of mastering those sultry, smoldering peepers. Remember, it’s not just about shadows and liners – it’s about embracing your eye shape, playing with colors, and taking the time to blend like the beauty boss you are. So, grab your brushes, unleash your inner artist, and let those eyes do the talking. Whether it’s a classic black smoky or a vibrant, colorful rendition, go forth, slay, and let the world gaze in awe at your smoky eye mastery. Smokin’ hot looks, here you come! 🔥
Also Read – 10 Best Secrets of Korean Skincare for Beginners